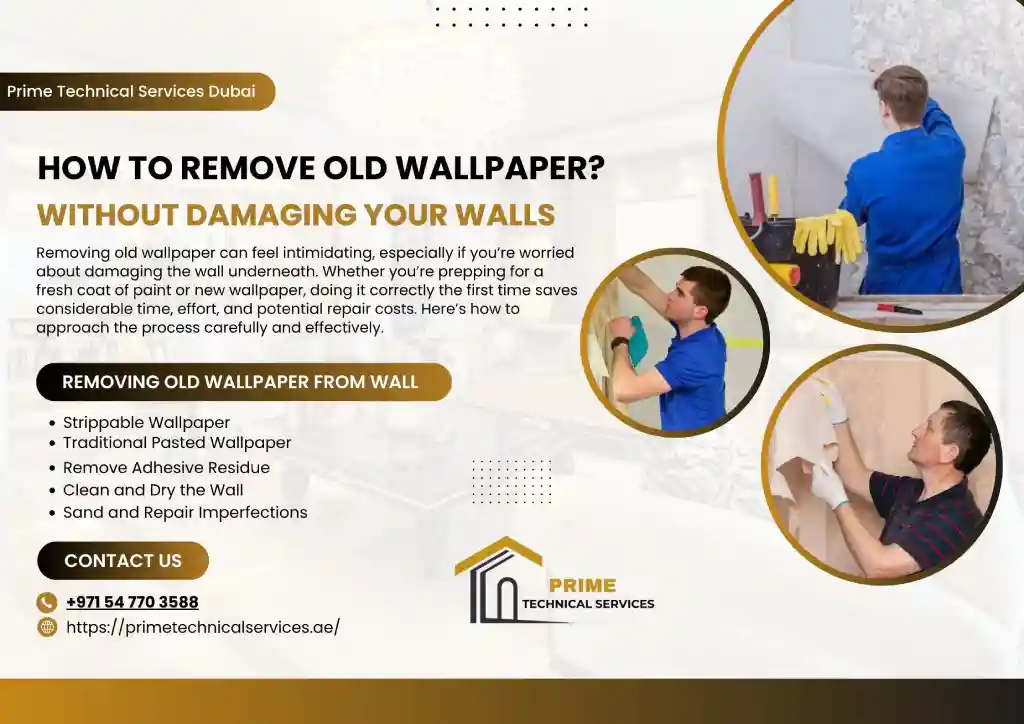
Removing old wallpaper can feel intimidating, especially if you’re worried about damaging the wall underneath. Whether you’re prepping for a fresh coat of paint or new wallpaper, doing it correctly the first time saves considerable time, effort, and potential repair costs. Here’s how to approach the process carefully and effectively.
Before You Start: Identify Your Wallpaper Type
Strippable Wallpaper
Designed for easy removal, this wallpaper can typically be peeled away in large sections with minimal effort and little to no water.
Traditional Pasted Wallpaper
This type adheres more firmly and usually requires soaking or a wallpaper removal solution to loosen the adhesive before peeling.
Tools You’ll Need
- Wallpaper scraper or putty knife
- Spray bottle or sponge
- Wallpaper removal solution (or a vinegar-water mixture as a natural alternative)
- Scoring tool, for non-strippable wallpaper
- Drop cloths to protect flooring.
- Sanding block, for smoothing the wall afterward
Step by Step Process Wallpaper Removal Process
Step 1: Test a Small Section
Before committing to the full wall, test removal on a small, inconspicuous area to understand how easily the paper comes away and whether soaking is needed.
Step 2: Score the Surface (If Needed)
For non-strippable wallpaper, gently score the surface with a scoring tool. This allows water or removal solution to penetrate through to the adhesive layer underneath.
Step 3: Apply Water or Removal Solution
Using a spray bottle or sponge, apply your chosen solution generously, allowing it to soak in for several minutes. Avoid oversaturating drywall, as excess moisture can cause damage.
Step 4: Gently Scrape the Wallpaper Away
Hold the scraper at a low angle and remove the wallpaper gently. Avoid forcing it, as this can gouge the wall beneath.
Step 5: Remove Adhesive Residue
After removing the wallpaper, reapply the solution to loosen any remaining adhesive, then gently wipe or scrape it away.
Step 6: Clean and Dry the Wall
Once all paper and residue are removed, clean the wall with a damp cloth and allow it to dry completely before painting or new wallpaper.
Step 7: Sand and Repair Imperfections
Inspect the wall for imperfections, then sand and patch as needed to prepare a smooth surface for the new finish.
Common Mistakes to Avoid
- Skipping the test section: This can result in damage extending beyond the affected area.
- Using too much force: Aggressive scraping is the most common cause of wall damage during removal
- Not allowing enough soaking time: Rushing this step often makes the paper harder to remove cleanly.
- Ignoring adhesive residue: Leftover residue can affect how well new paint or wallpaper adheres afterward
When to Call a Professional
If you’re dealing with multiple layers of old wallpaper fixing dubai, extensive wall damage, or prefer not to tackle a large area yourself, hiring a professional wallpaper removal service ensures a clean result without damaging the wall.
Conclusion
Removing old wallpaper doesn’t have to end in damaged walls if you take a patient, methodical approach — testing first, using the right tools, and allowing adequate soaking time before scraping. With the wall properly prepped and residue-free, you’ll have a clean, smooth surface ready for whatever finish comes next.